


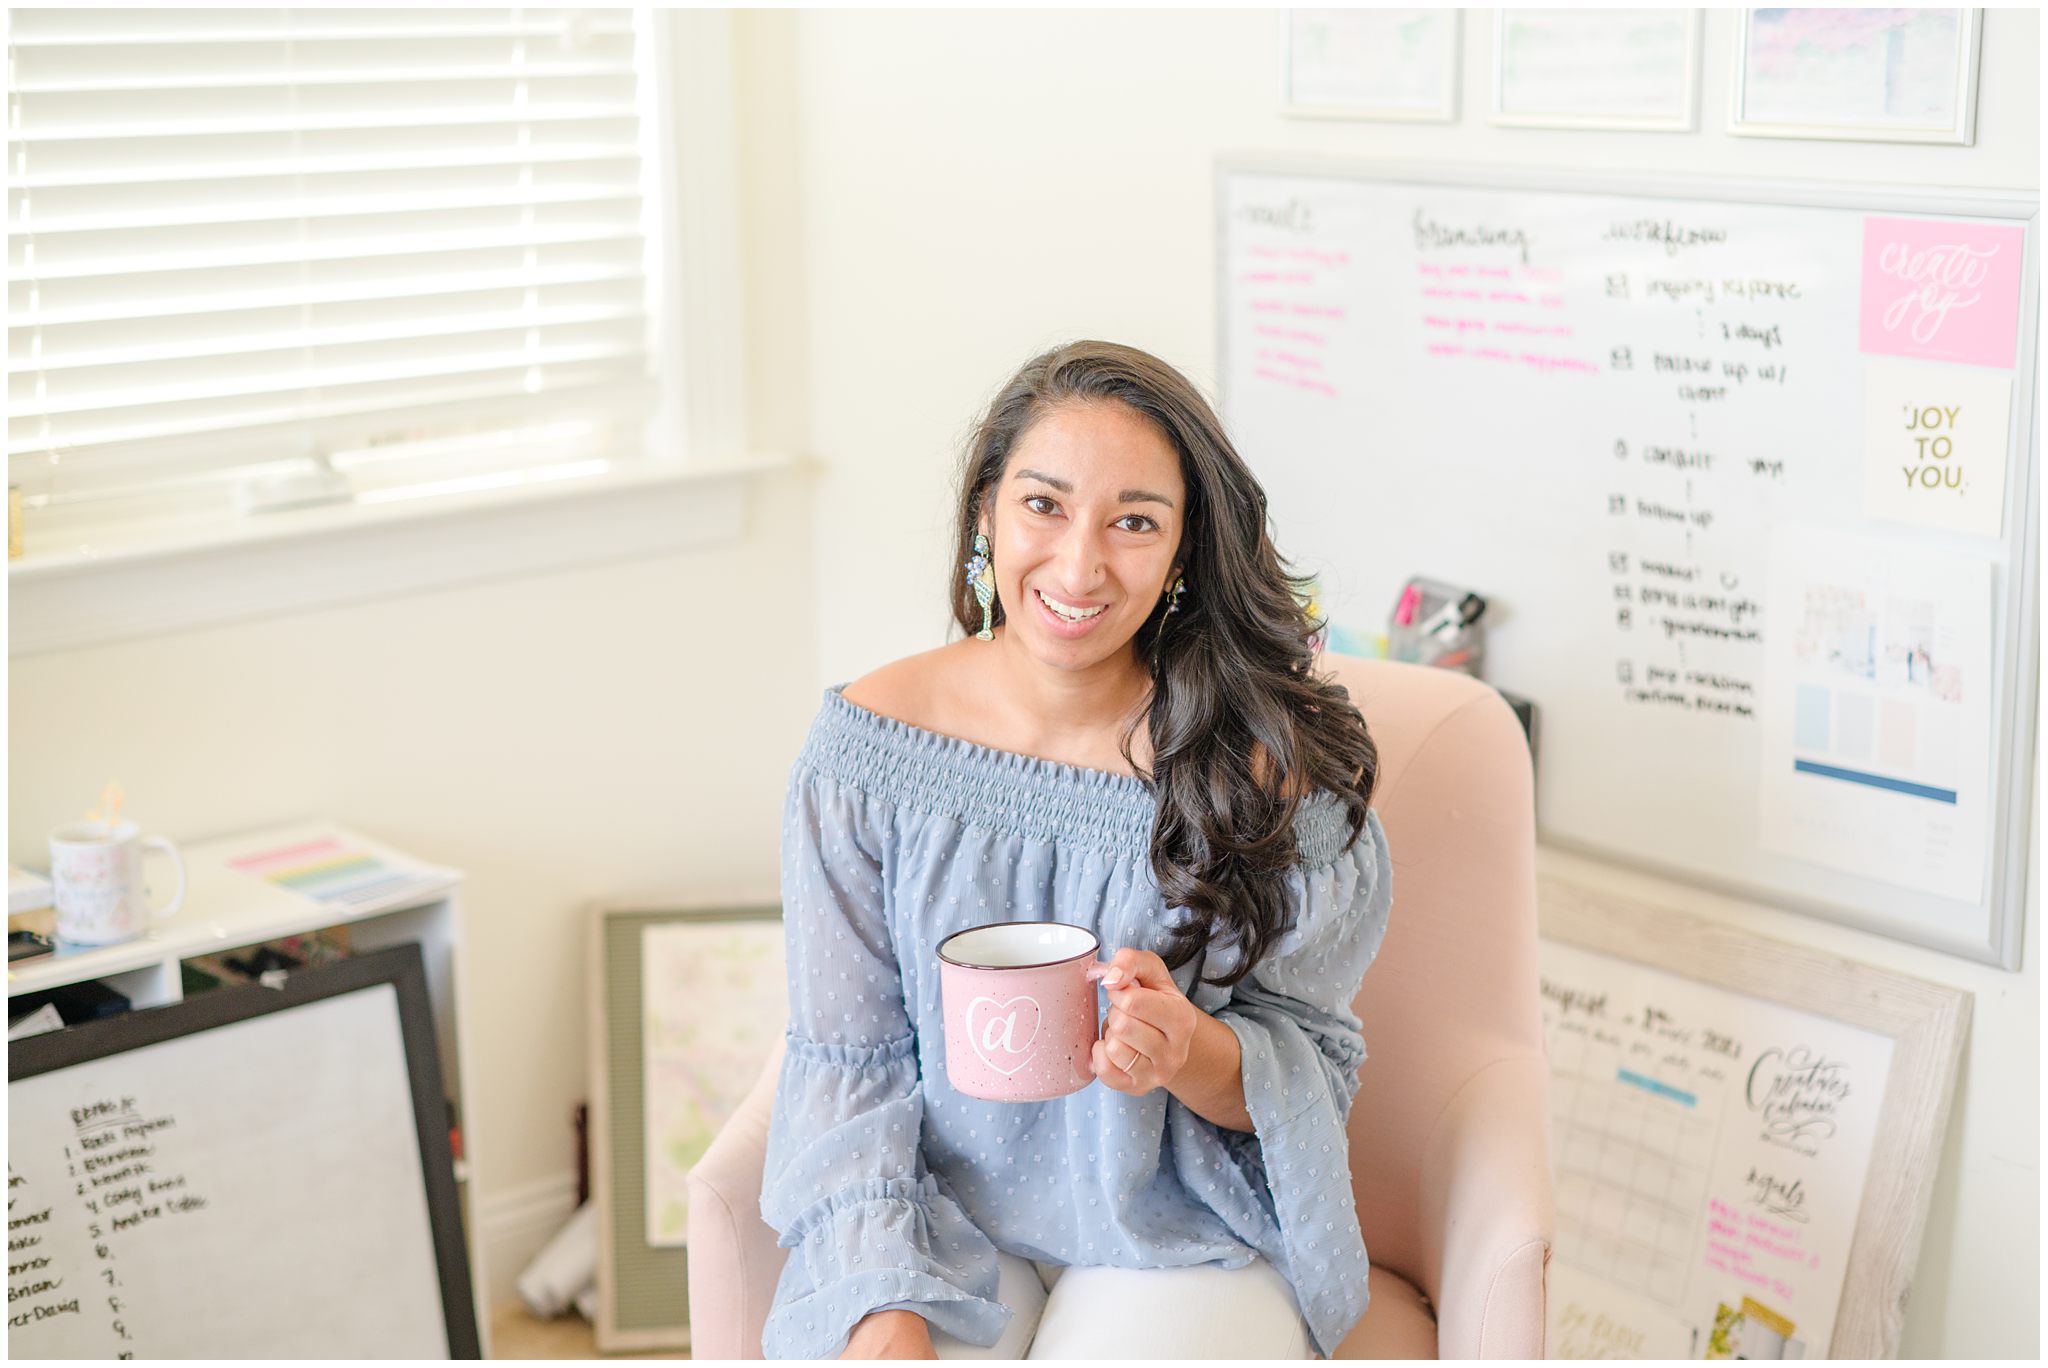
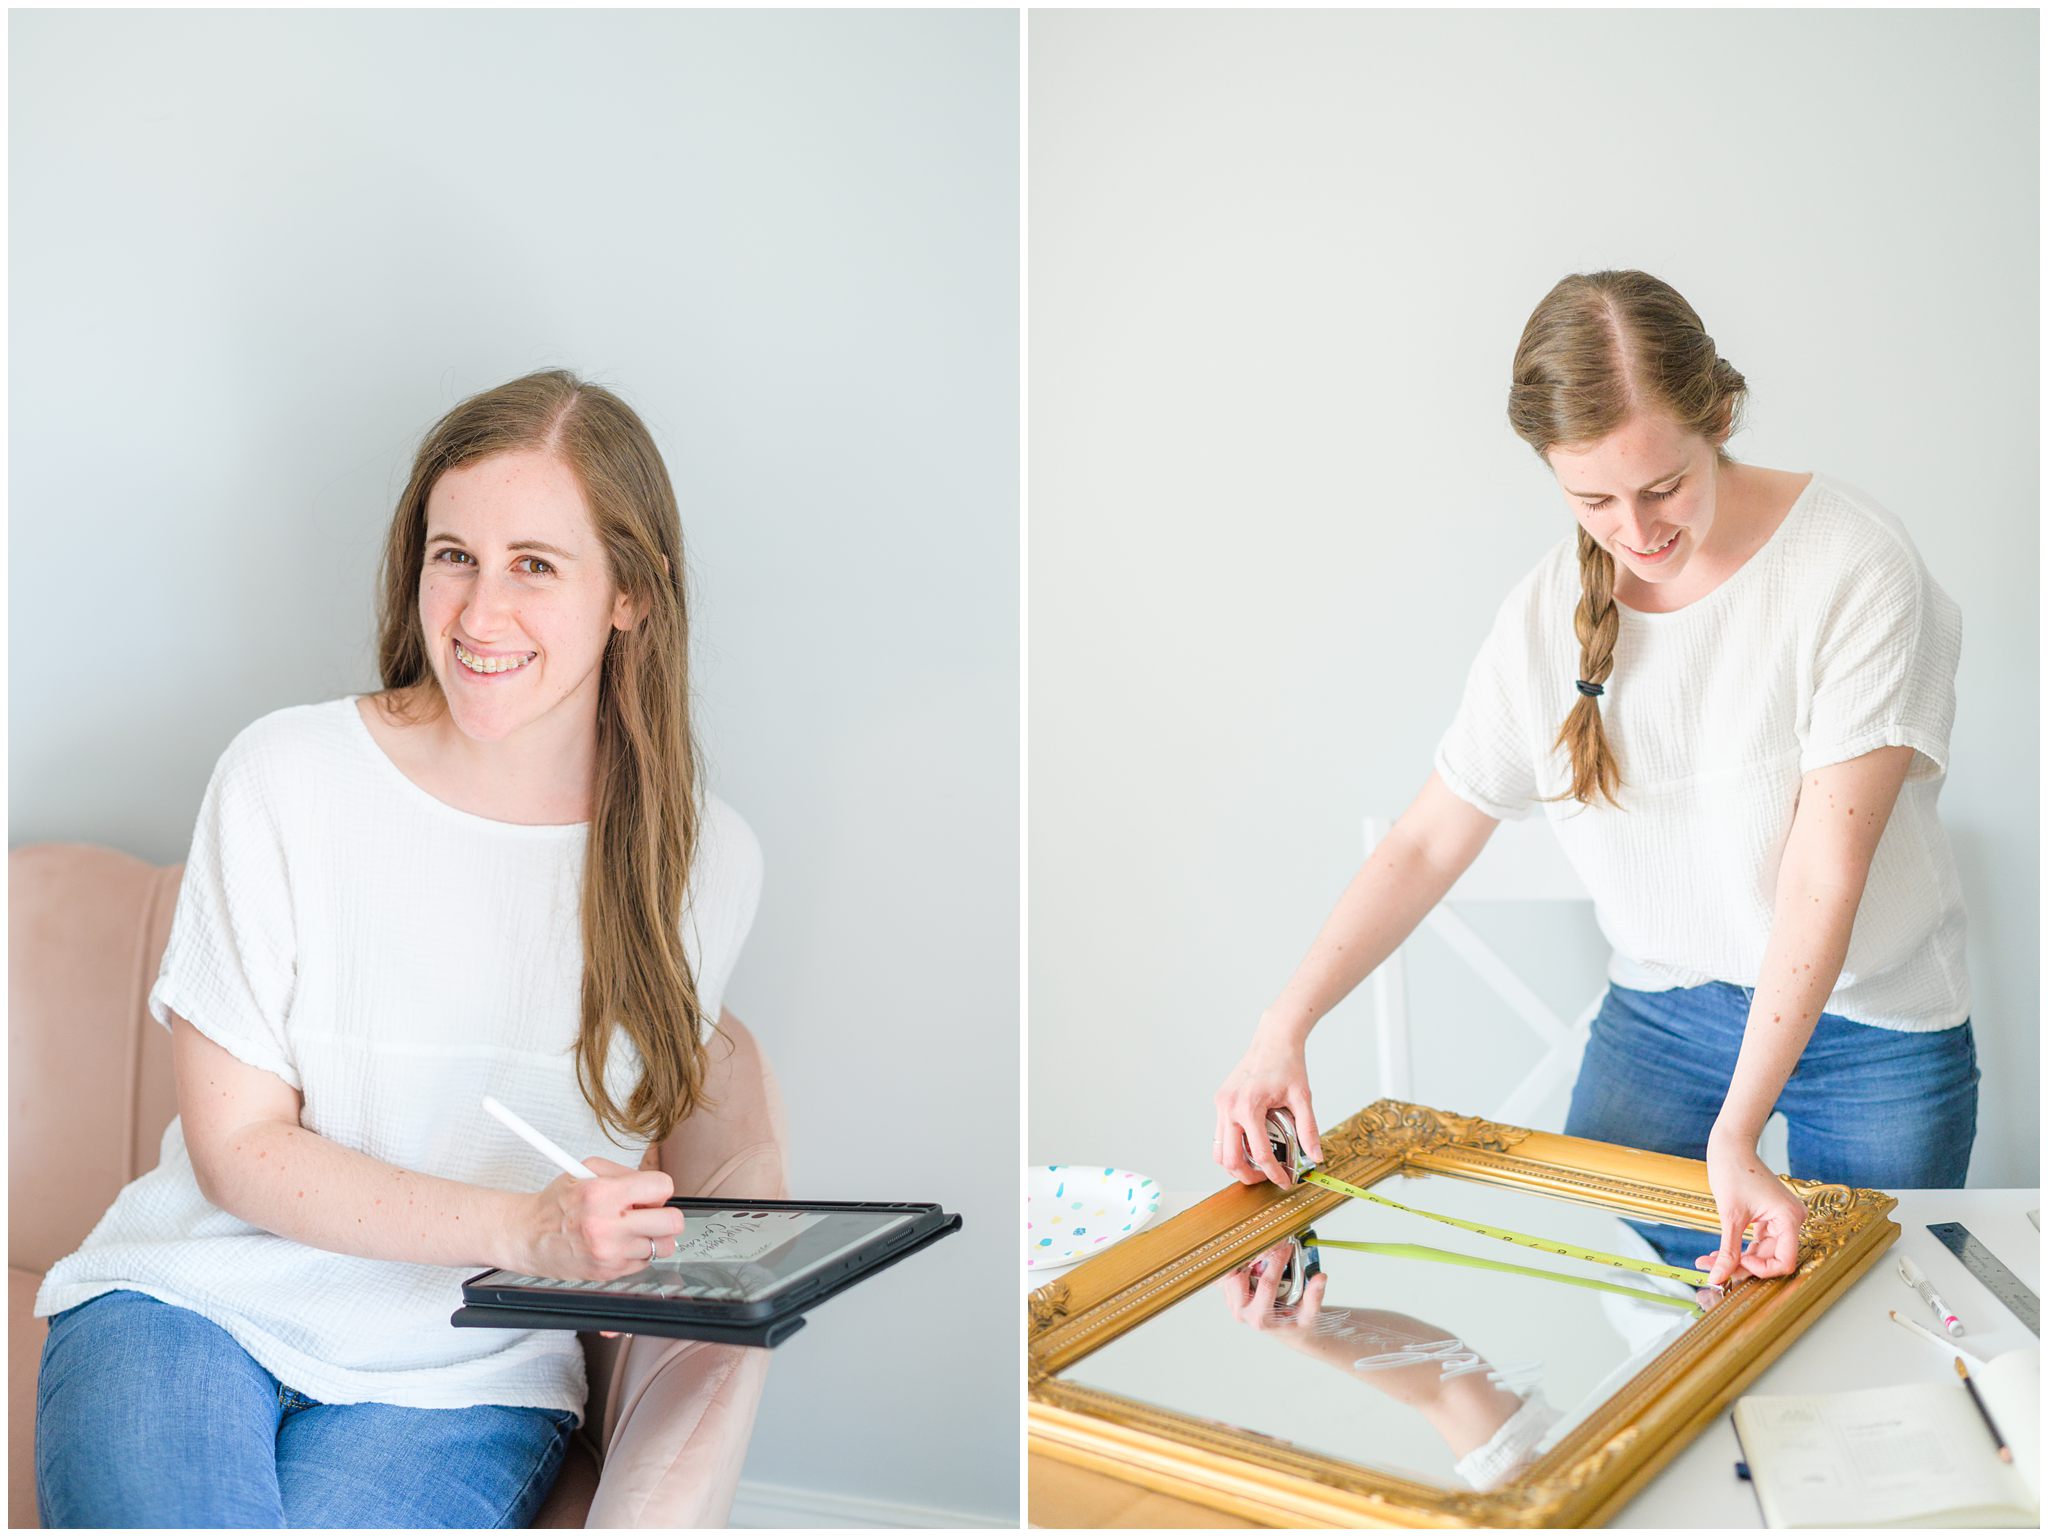
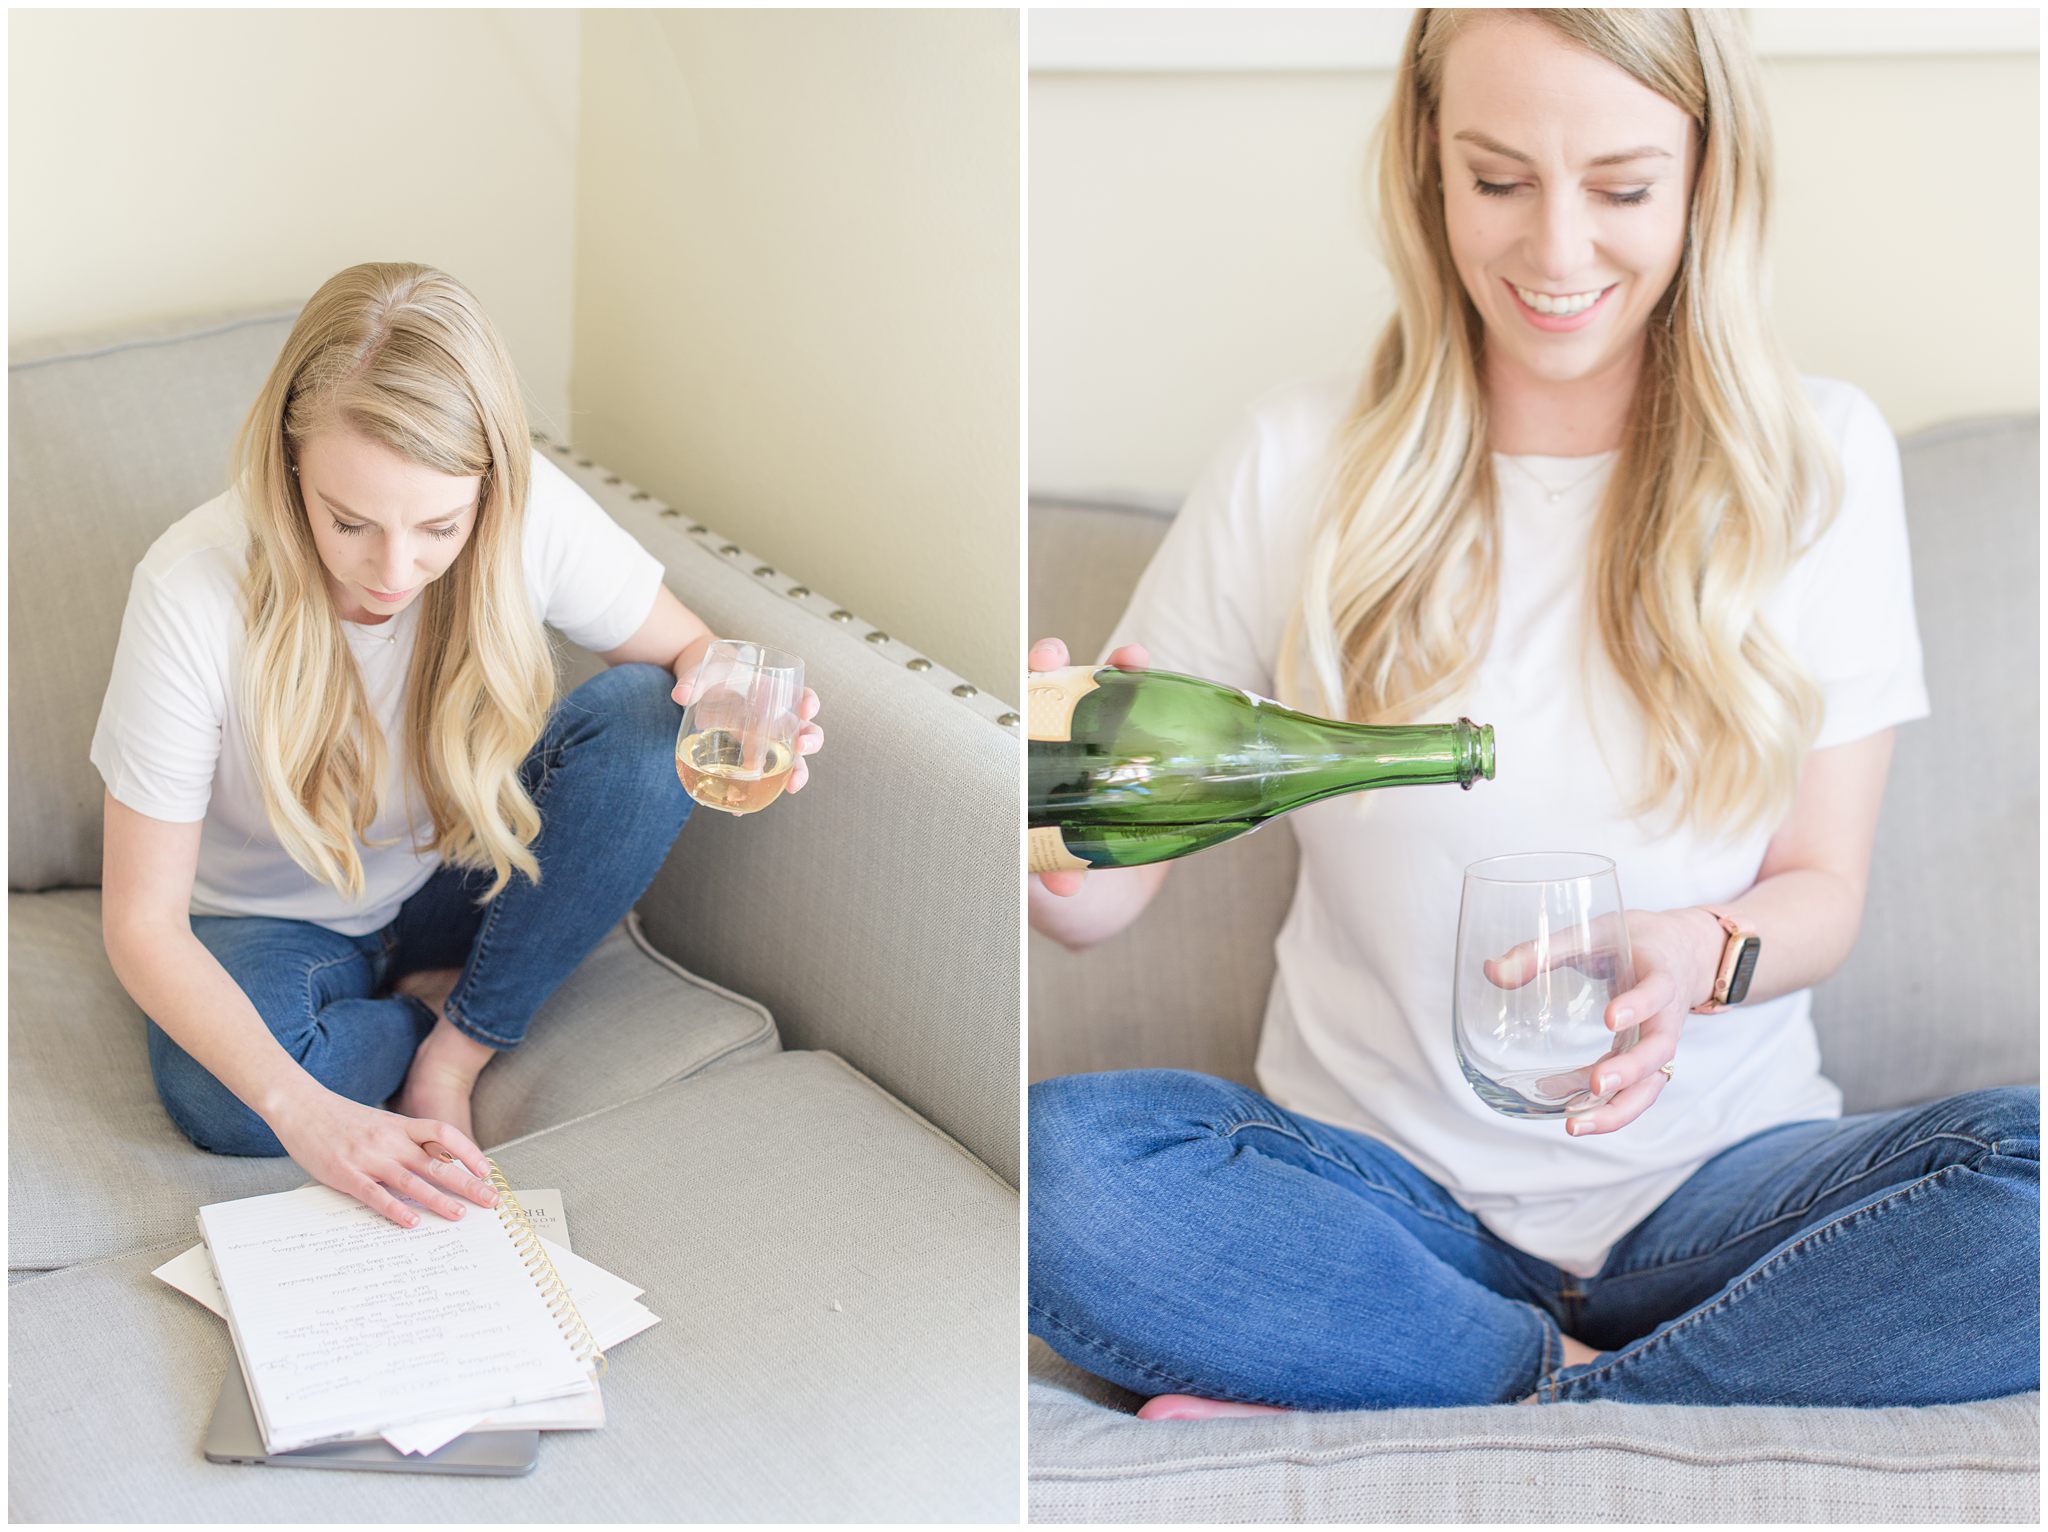
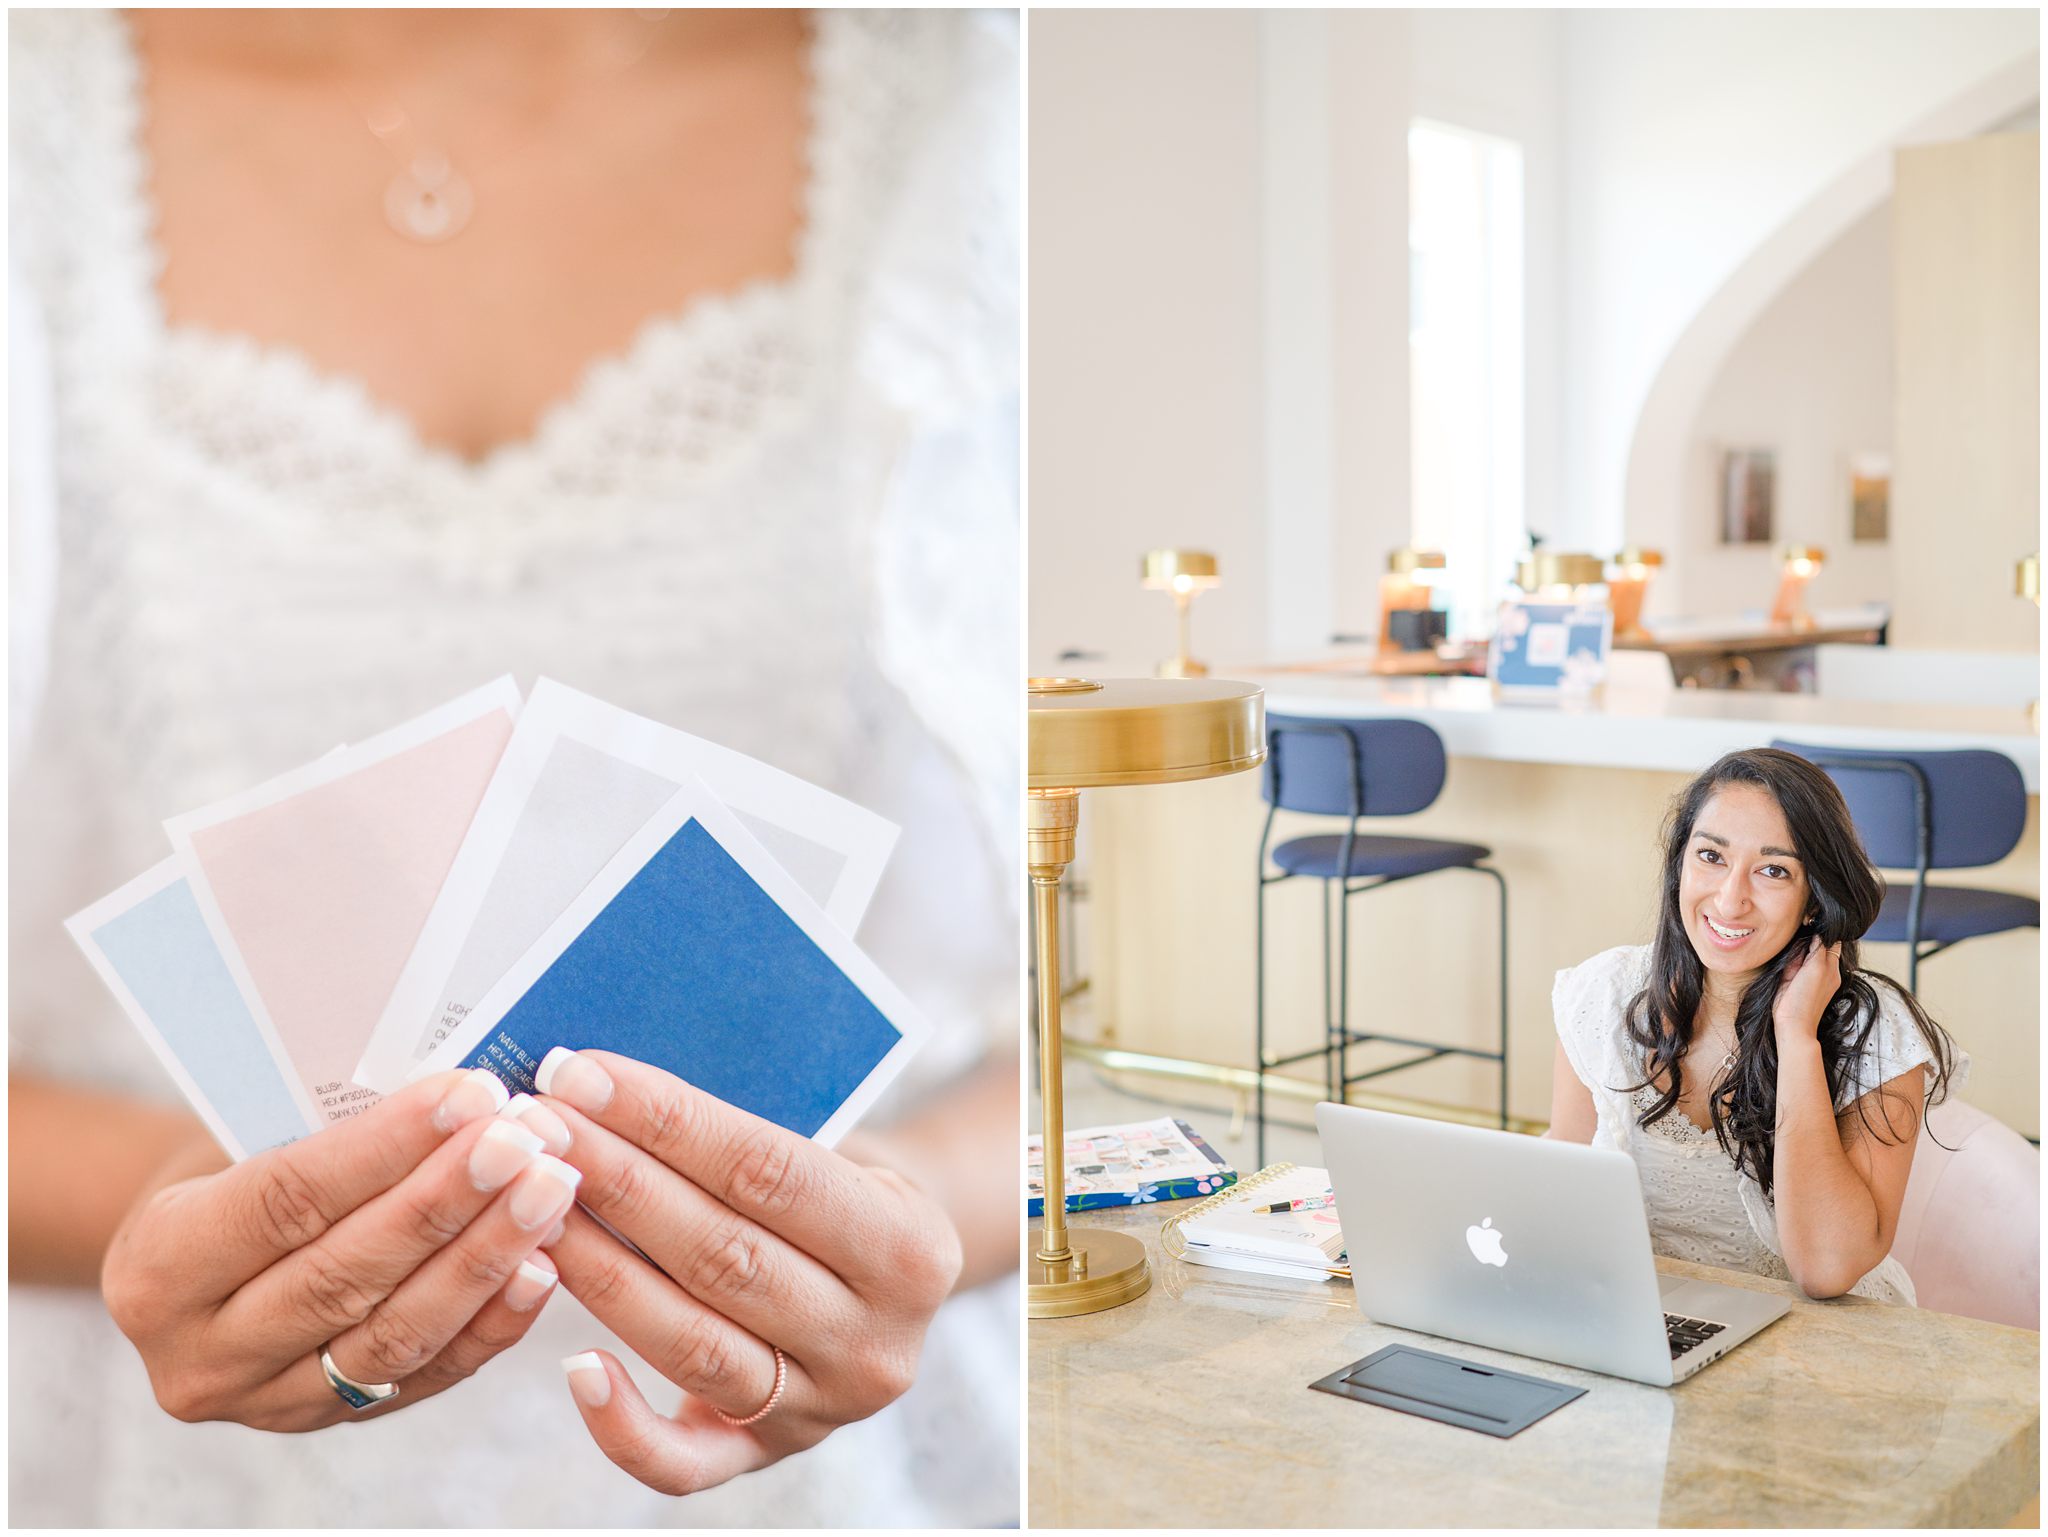
I have had the incredible honor of photographing for a number of amazing personal brands over the last couple of weeks, and all of them have had one thing in common: they did an AMAZING job prepping for their brand session! Personal brand sessions have quickly become one of my favorite things to photograph, and while I love them SO much, I also recognize that I ask A LOT of my clients. Executing a successful brand session is truly a collaboration— it is one that is so much fun and can be so life-giving both personally, and for your business too! That said, there is a lot of prep that goes into a successful brand session, and today, I wanted to break down just one portion of the prep: the packing!
If you’ll be having your brand session on-location, chances are good, you’ll need to bring a lot of things along with you! Even if you’ll be having your brand session at home, there’s a huge need to prep and lay things out in advance. I want to encourage you: Take this time! It will give you so much back in return!
Today, I wanted to share some of my go-to tips and tricks to help you pack strategically for your brand session, ensuring you have everything you need, when you need it, where you need it! I promise… the prep WILL pay off, so hang tight with me, and let’s dive in!
Read your prep guide— it’s strategically created to help you pack and maximize your brand session!
Each of my brand clients receives a custom brand prep guide, including session details/schedule, packing list, concept breakdowns, and more! As of now, you’ll receive access to a shared Google Doc which means you’ll get permissions to edit, comment, and mark up your prep docs as needed! My piece of advice? Read, customize, and utilize these pages! They are LITERALLY created to help you have a successful brand session! I invite all of my clients to customize their packing lists, especially when it comes to wardrobe. Utilizing these pages will ensure we have EVERYTHING we need and more to produce fabulous images together during your session. The more you write down, the less of a risk you have for forgetting something!
Organize props and items based on location and concept
As you organize the items you need for your session, consider where you’ll need them! Will you need a set of items at one location but not at another? Consider putting everything you need for one location in ONE tub or tote while everything you may need for another location in another spot.
The same could go for concepts here too! If you’ll be rocking your way through a few different concepts at one location, it may be easier and more purposeful to organize based on concepts. That way, we’ll be able to grab specific totes or tubs as we work through specific session concepts.
What’s important here is that you strategically and purposefully organize the props needed for your session. However you decide to do that is totally up to what makes the most sense for your brand session!
Hang your outfits on a hanger and place accessories in a ziplock baggie on the hangers (Don’t forget to pack your shoes and undergarments too!)
This is key! Before your session, you’ll want to place all of your outfits on hangers with all of the appropriate accessories in a ziplock baggie on the hanger too. Having everything you’ll need for one look in one place is a sure-fire way to maximize time during your session— you won’t be running around looking for individual accessories or items for the outfit! As a bonus, be sure to give everything a quick steam before your session! Having things ready to go and wrinkle-free before your session will make a world of a difference.
Don’t forget to try your outfit on in advance. Check out your undergarment situation and make sure you have the appropriate pieces with you, such as a strapless bra, socks for booties, or a slip for that gorgeous, but potentially seethrough summer dress you’ll be rocking!
Label things as needed!
This may go without saying and ties in the above two tips, but don’t be shy about labeling things! If you’ll be bringing along a few different bags or totes of items but can’t quite remember what is in each tote, consider tagging your items with a label that could really speed things along during your session time. Instead of having to dig through bags and totes to know what is inside, you’ll know from a quick glance, based on the label!
Start packing early
I ask a lot of my brand clients— I’m so grateful for the time they spend prepping for their brand sessions! Truly, I know it isn’t an easy feat to pack up everything that makes your business special and the time you take is SO appreciated. It takes some serious time to get everything prepped and packed together, so make sure you get started early! I recommend laying outfits out about a week in advance and that you start gathering props together around the same time. Two nights before your session, do a quick check to make sure everything is in place and is ready to either be loaded out to your car or utilized from home. That way, you’ll have time to find things the next day if needed OR can relax and enjoy some time off the evening before your session.
If you can’t bring something, no biggie— just let your photographer know!
If there is something that you aren’t able to bring along to your session, it really isn’t a big deal! Have no fear about letting your photographer know that something may not make the final cut— whatever reasoning you have is totally fair and understandable! That said, I definitely want to know in advance, especially if it’ll play into a key part of a major concept! If we need to revisualize, we’ll want to do so in advance, so we can maximize our time together in front of the camera.
Universal Packing List
Every brand session is different, and every packing list will be unique! That said, there are a few things that I recommend every brand client brings to their session:
- Items on your photographer-recommended packing list
- Beauty kit for touchups
- Hairbrush, hair spray, appropriate hot tools for any touch-ups
- Fresh flowers to add a pop to your session
- Steamer or wrinkle release spray (I usually bring a steamer, but it doesn’t hurt to have a backup!)
- Water, snack, and beverage of choice
- Phone and any day-to-day work tools like a laptop or hard drive + any necessary chargers and cords
- On brand, printed collateral
- Samples of your work (including: prints, pieces, physical items that tie into telling the story of a process… more on that in your prep guide, albums, and more)
- Tubs, bags, and suitcases for transport
- Anything you *think* may make a purposeful addition— feel free to ask if you’re unsure!
If you enjoyed this blog post, you may also like:

[…] YOUR GUIDE FOR PACKING FOR YOUR BRAND SESSION […]