


We are officially on week FIVE of the ceremony lighting series! I can’t believe we’ve made it to the final week of combing through all of my top tips when it comes to setting your ceremony time based on lighttg. If you are looking to get caught up, here’s what we’ve covered so far:
- Ceremony Timing Tips: First Look + One Location (Found here!)
- Ceremony Timing Tips: No First Look + One Location (Found here!)
- Ceremony Timing Tips: First Look + Church Ceremony/Two Locations (Found here!)
- Ceremony Timing Tips: No First Look + Church Ceremony/Two Locations (Found here!)
- Ceremony Lighting Tips (This week!)
This week, I wanted to share a few tips and tricks for ensuring you’ll be delighted with your ceremony light overall! I’m going to try to keep this as simple and as practical as possible, explaining some basic principles of light without getting too techy about it! Overall, if you have any questions at all, your photographer is your best resource! If great ceremony lighting is a priority for you, be sure to sync up with your photographer as you work to plan your ceremony location and overall setup.
So… let’s get right to the fun! I’ll be sharing a few overall things to consider up top and will then break down the big overarching theme into more specific considerations!
Overall
Shadows
If you ask me, the more even the light on your faces during these moments, the better! I consider light to be even when there are little to no shadows on your face! Have you ever looked at your face or a friend’s face and seen spots that were filled with light while other spots may have harsh shadows (Especially under eyes or nose)? I would call this uneven light! If you have the opportunity to stand at your ceremony spot pre-wedding day, I definitely recommend checking out your partner’s face for even light! You want both of your faces to be in even light (AKA no harsh shadows!) to ensure a few things! First: you want to be able to see your partner’s reaction while avoiding squinting directly into the sun. In addition, you also want to see expressions clearly in your overall wedding gallery! Having even light on your alter will also ensure your images look consistent with the portraiture you will receive in the rest of your gallery!
The designated ceremony spot might not be the best spot
This may not be an option for every venue, but I figured I would include it here! A lot of ceremony spots are selected based on location, instead of quality light! Your ceremony spot may be in the most beautiful spot on the property, but it may not photograph well if the light isn’t great. If there are heavy shadows or harsh highlights, the spot may not translate the same as you see it day-of on camera! If you find your ceremony spot is in direct sunlight and you have the flexibility, I recommend doing a little bit of location scouting at your venue to find a ceremony location with light that may have more even light. I’m always available to chat through options if we are working together! A few things to look for if you are going this route?
- A large, flat area with no change in elevation
- Easy guest access
- Even light at the altar
- A beautiful backdrop on both sides of your ceremony that you’ll love seeing in your final gallery! (Think: Behind you at the altar AND behind guests to ensure you love the background as you come down the aisle)
Outdoor Ceremony
Now… let’s break things down even further!
Open Shade
As you start to design your ceremony, if you were really looking for THE light I would recommend overall, it’s something I call open shade! This means you’ll have full access to the sky over your ceremony and guests, but because of how shadows are cast from structures around your ceremony, your entire ceremony site is in even light. This is rare to find but ensures even light between marriers on the altar and also ensures that guests aren’t squinting into the sun!
Back Light
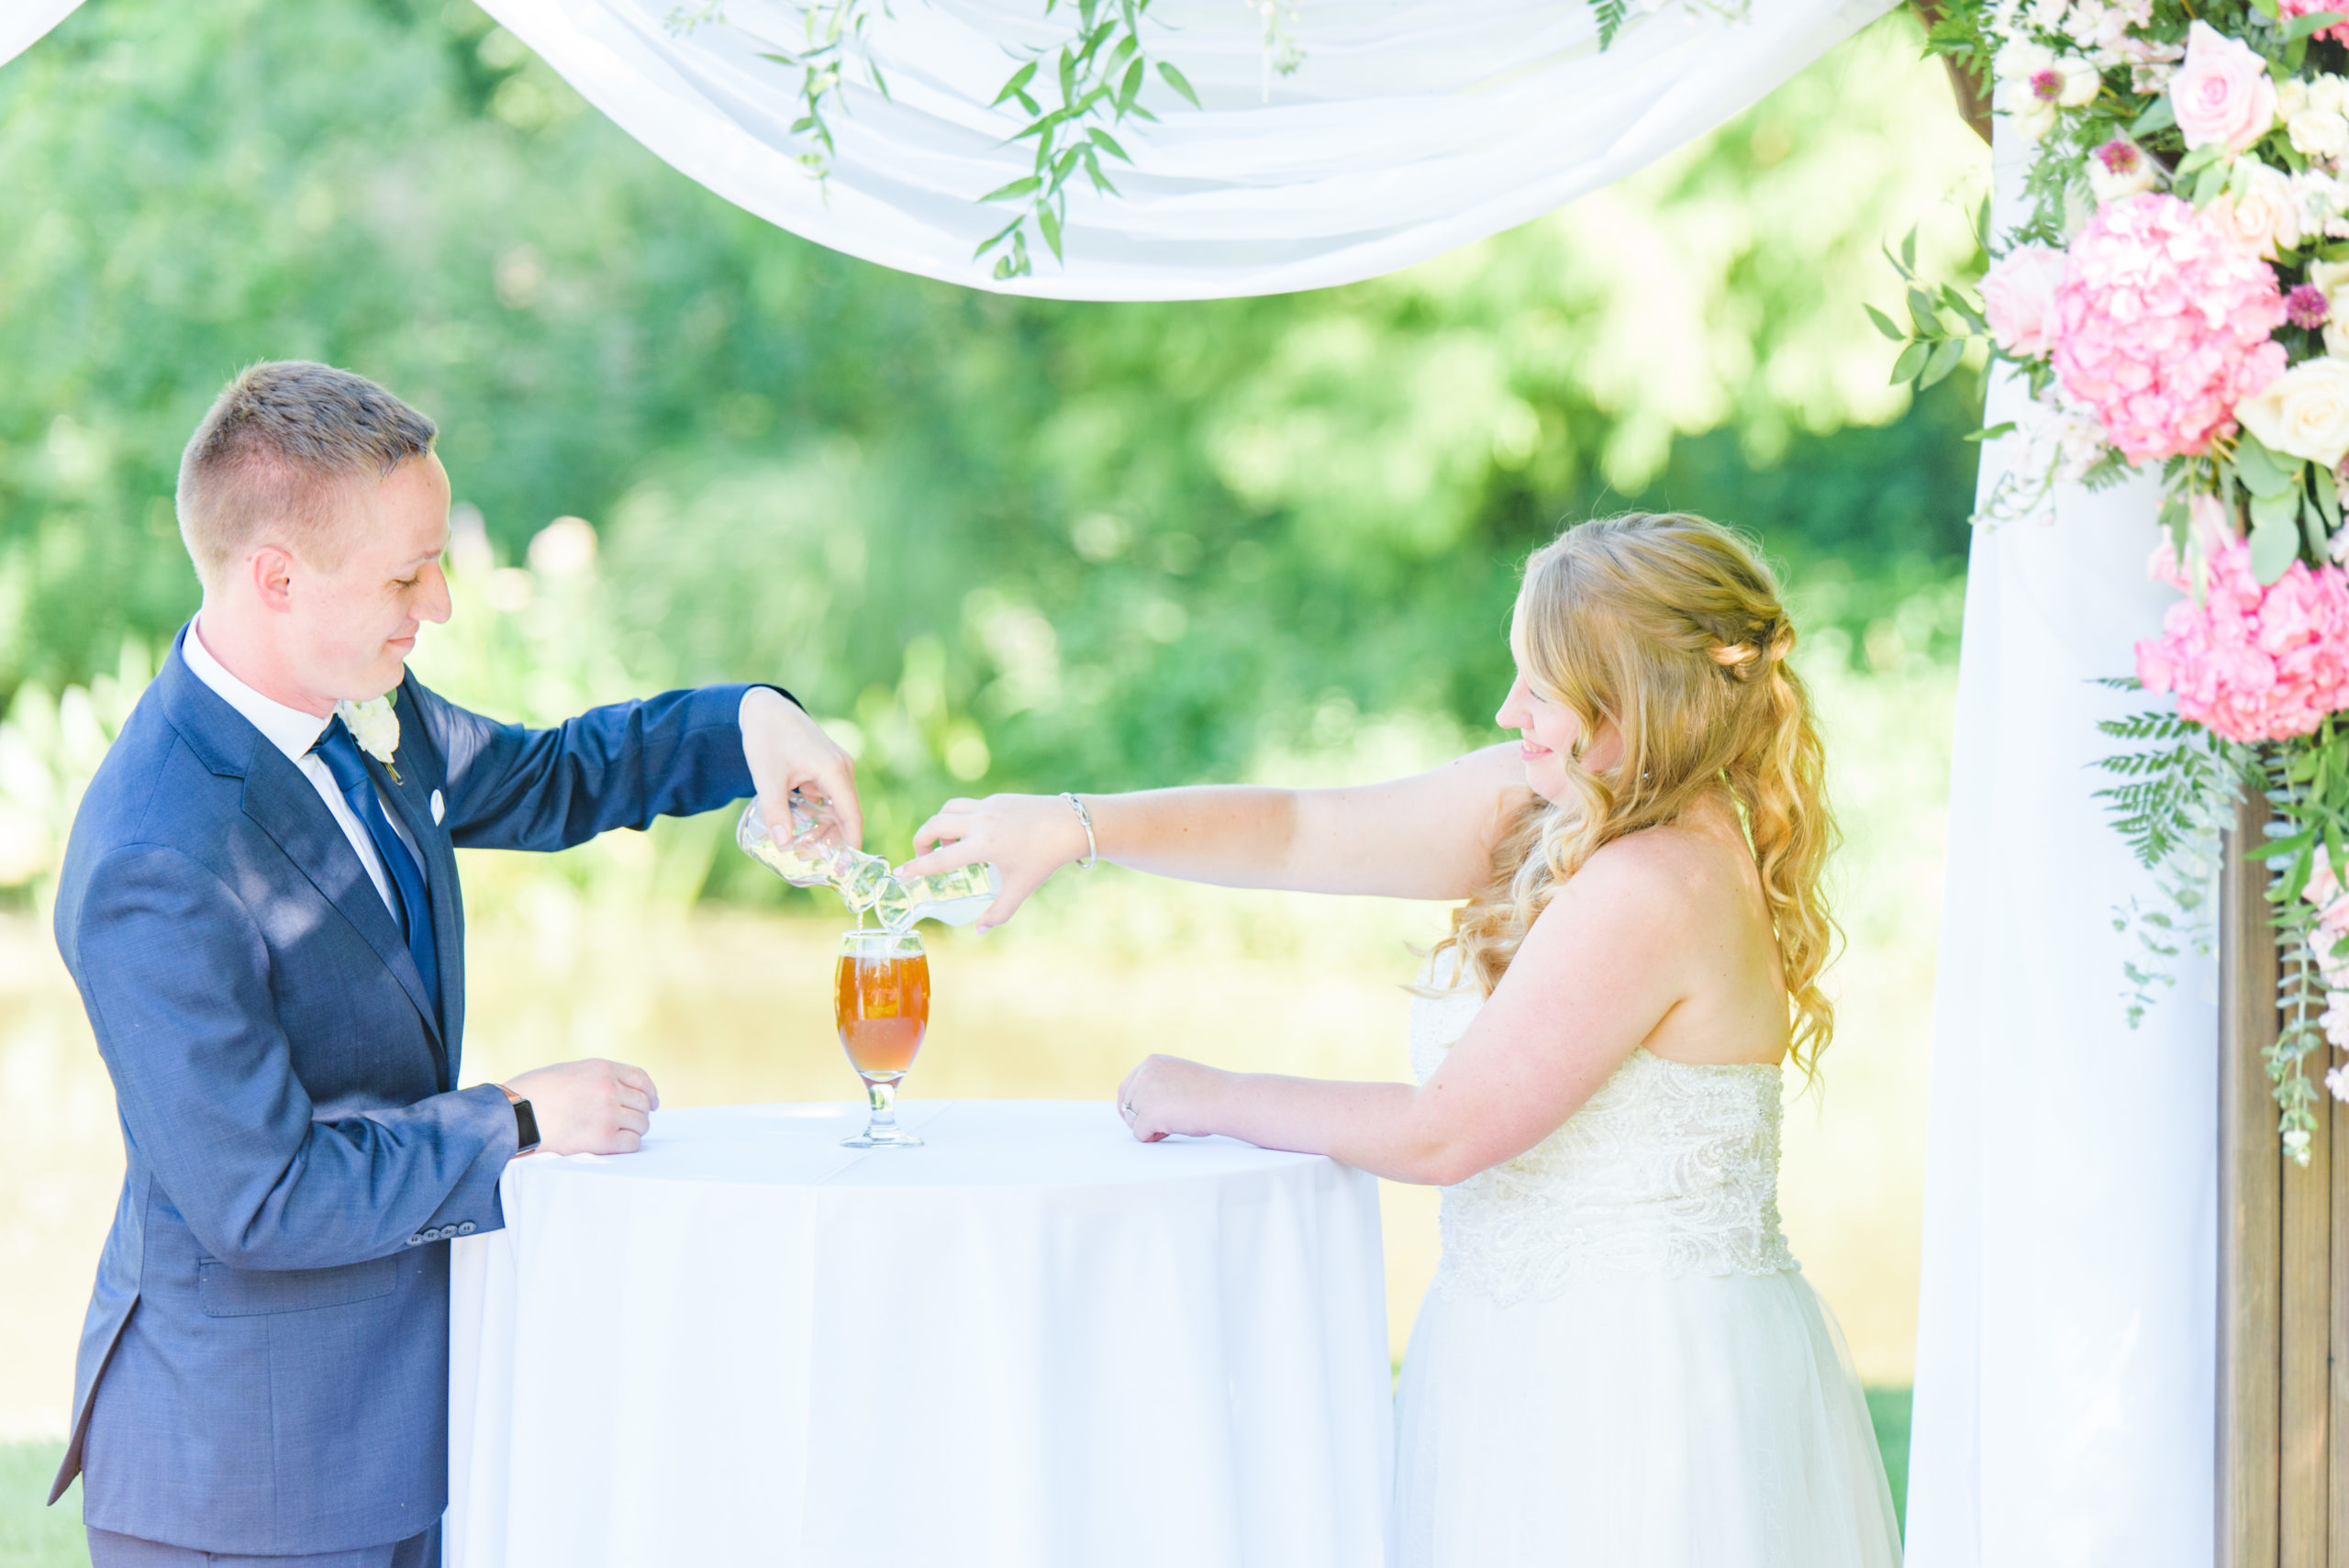
This is a little more common than open shade, so if you aren’t able to utilize open shade, this would be what I would recommend. To get the most even light on your faces, I often look for backlit spots! This is when the sun falls behind you and your shadow falls in front of you. In this case, you would want to see your shadow at a slight angle on the guest side of the altar.
All that said, with backlighting, you’ll want to make sure that the light is on just a slight angle behind y’all, ensuring there’s less sun blasting your guest’s eyes. This also ensures that your background will be just a little more visible + your images, less hazy, as light won’t be going directly into the camera! (Told ya… this stuff can get techy!) It would look a little something like this:

Even light for both marriers
I know we went over this before, but I just wanted to add another note here! You’ll want to look for even light from head to toe for both marriers! This may not be possible in every case, so if it isn’t possible, look for even light on the faces of both marriers.
Indoor Ceremony
Look for (and avoid when possible) mixed light
I’m going to try not to get too techy here, so we’ll keep this brief! Each individual type of light has a different color to it due to the temperature of the light! Your eyes and brain are smart enough to sort through mixed colors from light sources, resulting in more of a neutral-looking subject + background, but the camera isn’t as smart. If you have a warmer overhead light and cooler light tones coming in from a window off to the side, things may look a little wonky up on the altar. For the most part, this is typically a pretty easy fix in editing unless…. (Keep reading!)
Avoid pop lights directly overhead
The dreaded pop and spotlights… these lights often contribute to funky color casts, shadows, and overall uneven light on the altar. Pop lights and spotlights can often be tough to see upon first glance, so start first by looking for shadows under your eyes and nose. Believe it or not, shifting just a few feet forward or back could make a big difference! The reason that these become a problem when it comes to balancing light in post is because of the shadows they cast. For the most part, technology allows photographers to balance color tones, however, we can’t change shadows. Mixed light + shadows are no one’s friend!
If you do have recessed lighting overhead or are under a spotlight, see if you could step forward towards guests or back to reduce any crazy color and shadow casts.
A note on spotlights: I know it may seem great to have a spotlight on the happy couple, but keep in mind: the human eye is much smarter than the camera! Your eye is able to view and balance the light and shadows while the camera will only be able to see one lighting scenario at a time (AKA the bright OR the light). Because it can only see one at a time, your wedding party may fall into the shadows and/or may appear to be in a darker space than you in the frame. Overall, I recommend even light for all people up on the altar!
Backlit may not be your friend
I know I’ve said backlit, backlit, backlit about 47 times this post, but when it comes to indoor photography, it isn’t always the best. With big, bright light coming in from behind you, this is considered a strong light source! The lights from the sanctuary or indoor space are often a little weaker than the backlighting. Because of the difference in the strengths of the light, this could cause some issues in-camera because the camera isn’t nearly as smart as the human eye. In-camera, indoor, direct backlighting typically results in a bit of haze and funky color casts— no one wants that during their ceremony photos, promies! Oftentimes, photographers are able to counteract this with off-camera lighting. That said, if flash isn’t allowed in a church ceremony space we have to respect these rules and will need to work with what we have!
Instead of seeking out a spot that’s backlit, consider looking for a spot that has even light coming in from the front or a slight angle to the altar!
Overall, if you do have control of the positioning of your ceremony space, I recommend making the effort to find the best spot for images that you will love for a lifetime! If you do not have the option or flexibility with your ceremony space, take these with a grain of salt! These are all suggestions for the absolute best of the best lighting scenarios. Your ceremony will still go off without a hitch, wether or not you take these suggestions to heart!
If you enjoyed this blog post, you may also like:

[…] you haven’t had a chance to dive into that mini series yet, I highly recommend that you open this post in a new tab to dive into the entire series after reading this one— they all […]