


 Happy Friday, pals!!! Today’s post is something that a lot of my professional photog friends may make fun of me for… BUT, it is something that has changed the way I shoot, so I’m sharing it anyways! I hope that it helps to demystify something that was SUPER intimidating to me for a long time: custom white balance.
Maybe you’ve been perusing your camera manual and have been hearing about something called Kelvin… maybe you’ve been trying your hardest to figure it out but feel SUPER intimidated by all the numbers you need to memorize? I’ve been there before too! After I learned this one simple way of thinking about Kelvin, everything clicked, and I now use custom white balance 99.9% of the time!
If you are feeling really confused right now, let’s back up. Simply put, Kelvin is a unit used to measure temperature… think back to high school science class! When it comes to photography though, we use it to measure the color temperature of a particular light source. All light emits a color temperature that is a different color. Our eyes and brain are smart enough to adjust for the change in color, but our camera needs a little help! By reading light yourself and dialing a particular setting into your camera, your camera knows how to read the light and will capture an image that is truer to its natural color tones! You tell your camera exactly what it is looking at, so it has to do zero guess work like it would when set in an auto mode!
I want to keep today’s post pretty general, so I’m not going to dive into how to set Kelvin on one particular camera model vs. another. Every camera make and model is a little different, so I highly recommend sifting through your manual or YouTube if this is brand new to you. If it helps to clear anything up while scrolling through your camera menus, Kelvin is the white balance setting that is typically noted with a little K.
Now WHY is Kelvin so important? Isn’t there a setting that will automatically take care of your camera’s white balance for you? Quick show of hands: how many times have you had your camera set on Auto White Balance and had a photo turn out really blue or really orange?
You can typically save a RAW image from an incorrect color balance in post processing… it just takes a little bit of time and love in Lightroom! If you are photographing in JPEG though, you may not be able to save the image! This starts to approach a really complicated topic of the differences between RAW and JPEG and the benefits of one vs. the other! I’ll keep this simple by saying that photographing in RAW and Kelvin is MY personal preference because it gives me the most flexibility! Your preference may differ, but that is a post for another day!
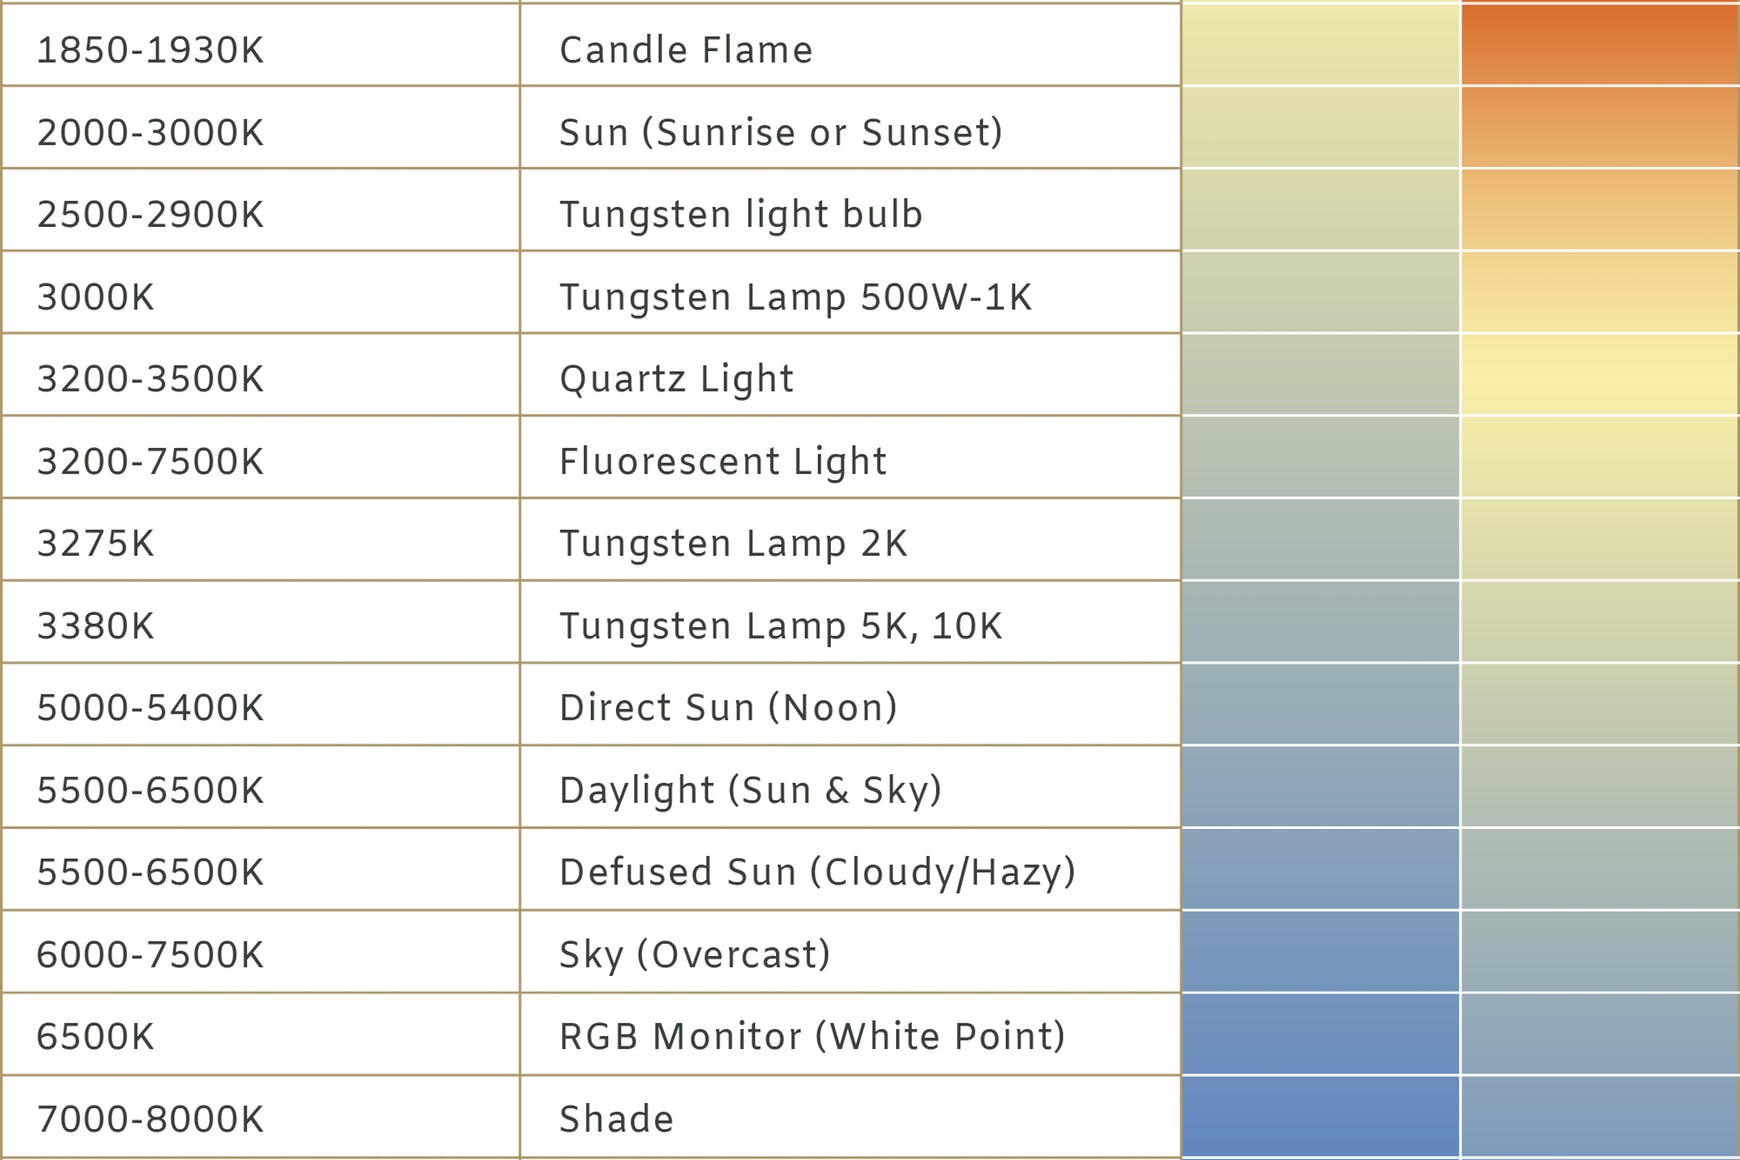
Back to Kelvin! We’ll stick with the technical for just another second. I couldn’t post this Friday Chatter without giving my visual learners a Kelvin chart! If you are confused about the way temperature and color relate to one another, you can see approximate ranges and the degrees Kelvin for particular light sources below:
PS If you are looking for an amazing article that dives a little deeper into shooting in Kelvin, CLICK HERE! | Image by Mastin Labs
If your brain is anything like mine you may be thinking: WOAH that is scary and complicated! I’m a little embarrassed to say, but for a long time, I completely wrote Kelvin off as something that I couldn’t do because it was too complicated and because my brain just didn’t “work that way.” Big numbers, temperatures, warm and cool, what is what and how do I quickly put it into action when I have a ton of people looking at me?! HELP!
This is LITERALLY what ran through my head every single time I thought about Kelvin! Somewhere along the way though, I learned this super simple trick… and let me tell you, it is simple. Some of my photog friends reading this are probably going to laugh and say DUH, Caity!!! BUT, if there is ONE person out there who has a brain wired like mine was feeling frustrated and defeated with the complexity of memorizing numbers, this point is for you!
You’ll warm up your image by turning the numbers up. You’ll cool the image down by turning the numbers down. It is literally the SAME exact thing as the yellow and blue white balance slider in Lightroom.
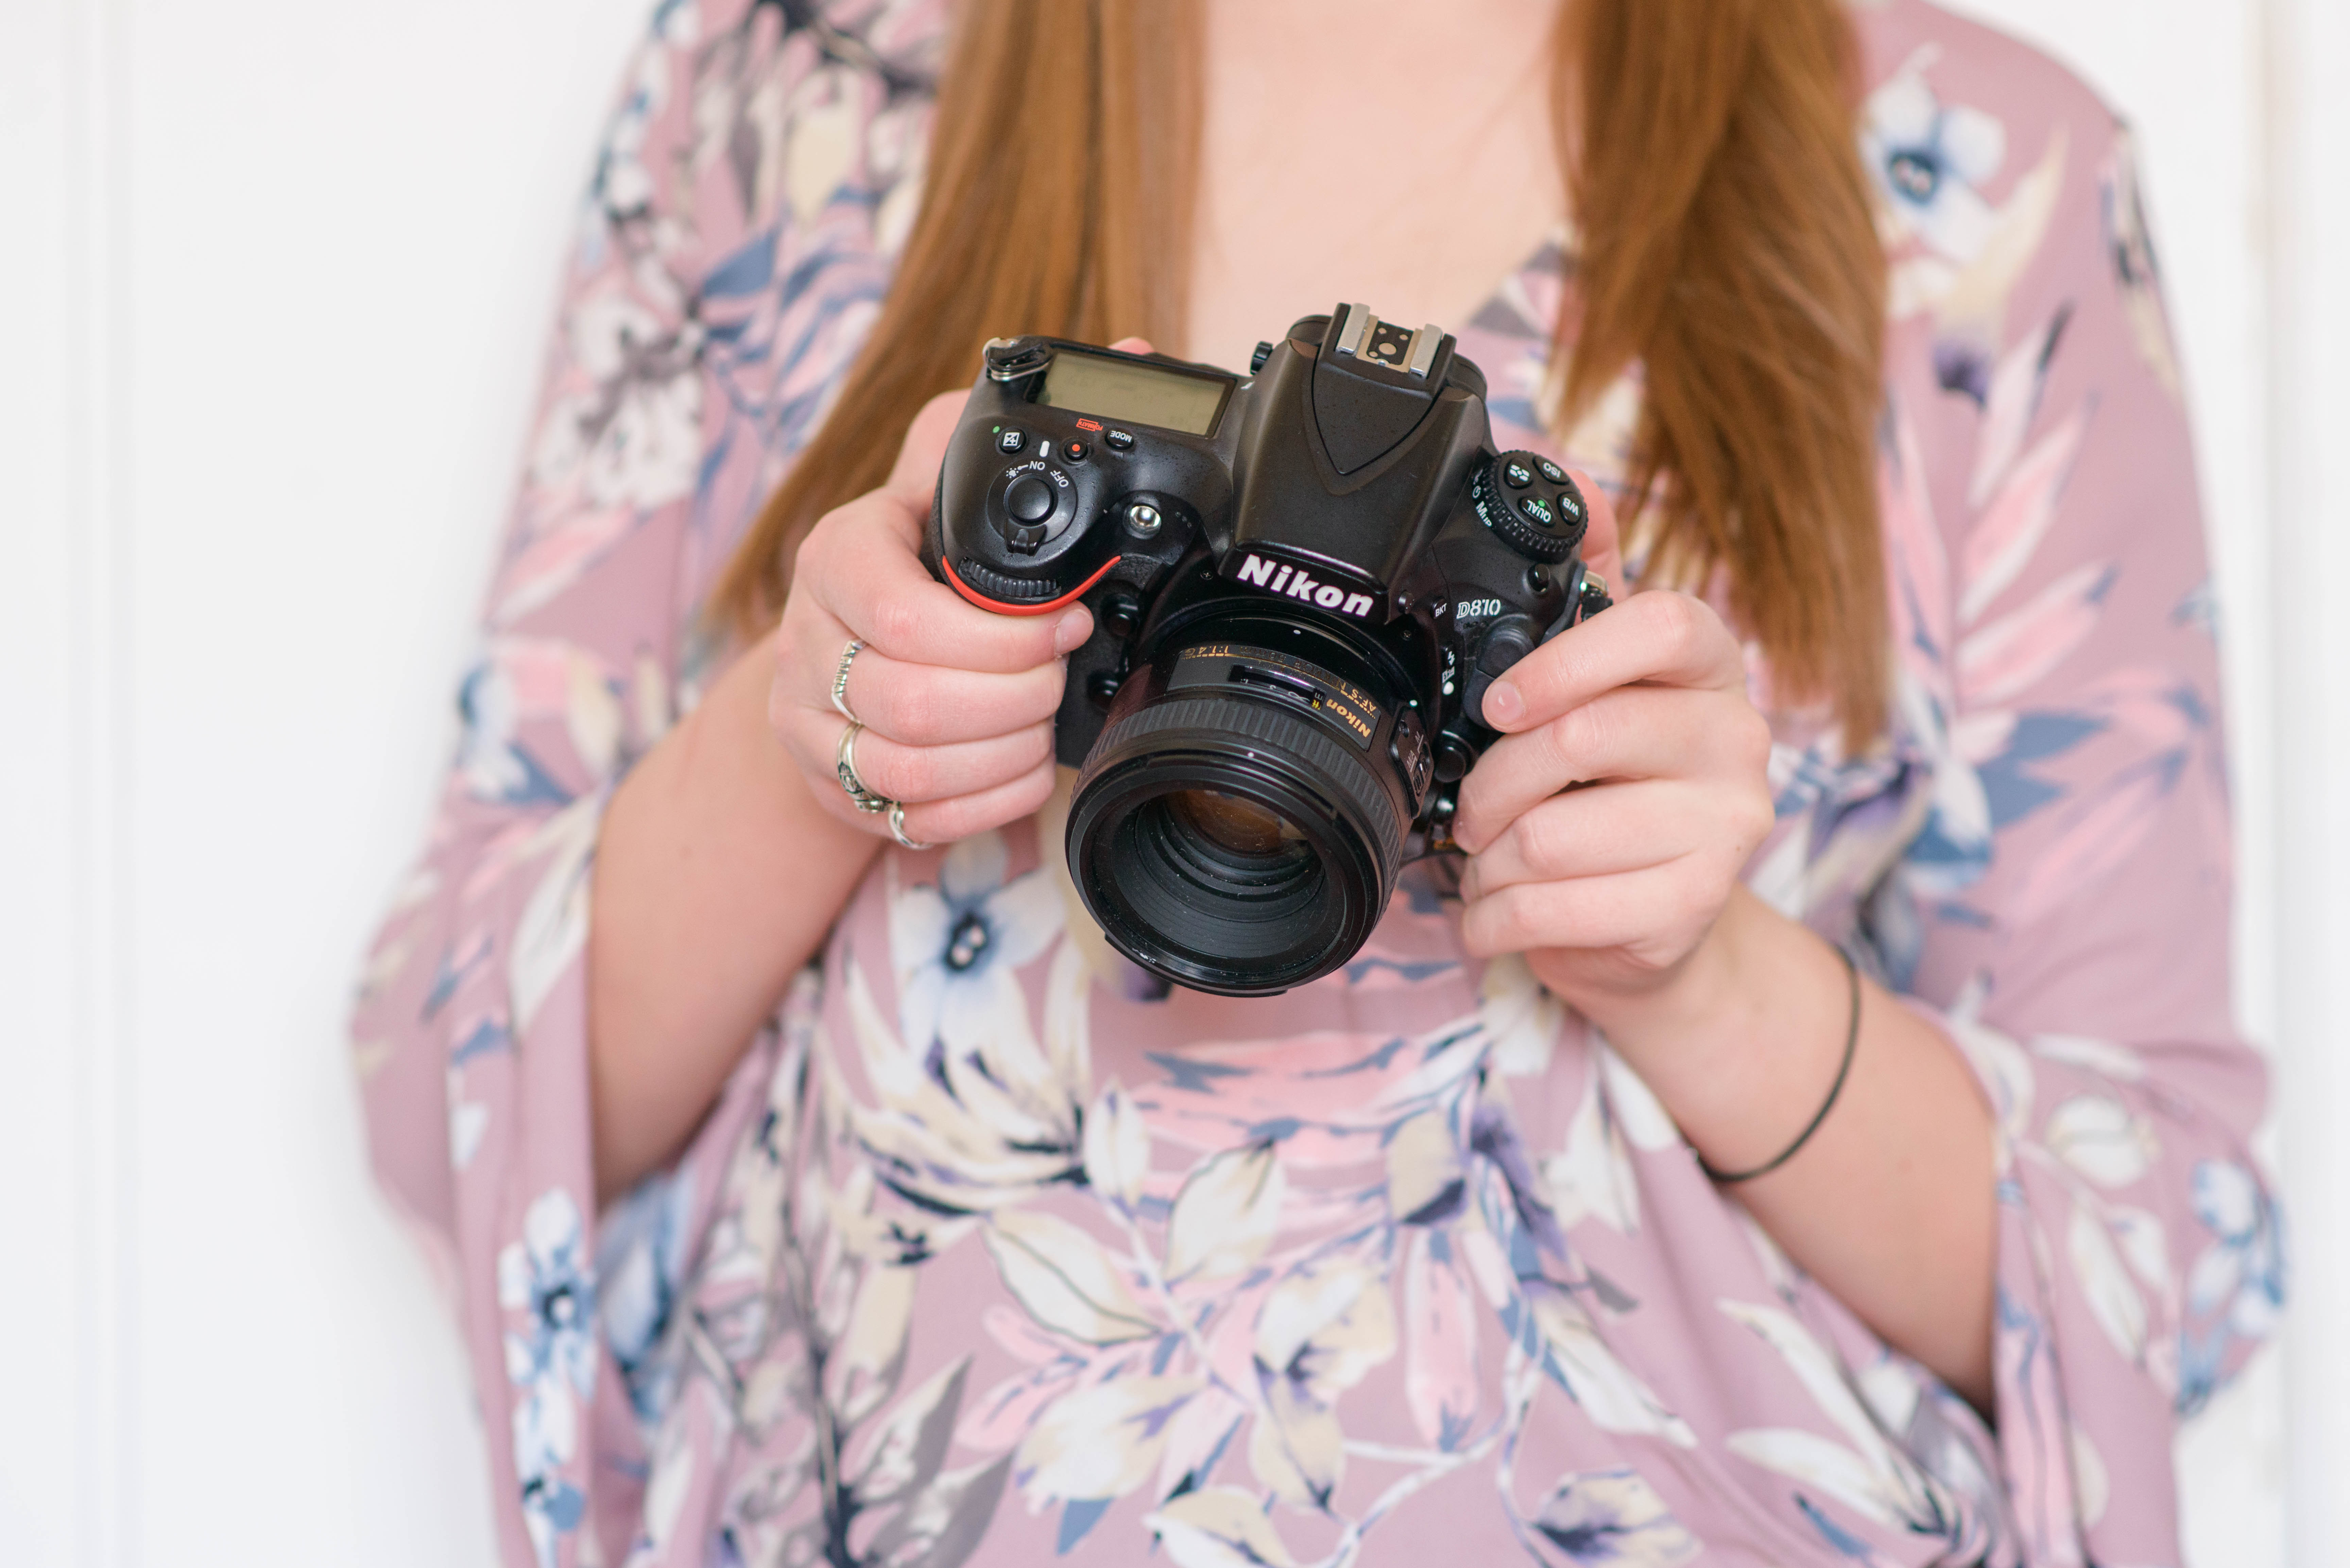
My brain is weird… I know that for sure! I told you… some of you would be laughing and thinking really, that’s it?! BUT, I hope someone out there is nodding and thinking OHHH this makes sense to me now! On my Nikon D810, I use the slider right under my shutter button to adjust my white balance. To warm up an image, I turn it to the right. To cool down an image, I turn it to the left. Both of these are as I would do if I was warming up an image in Lightroom! I don’t know why it took me this long to have this connection click in my head, but once it did, I quickly grew more and more confident with shooting in Kelvin!
I have a basic “go-to” range of numbers that I keep in the back of my mind for common light occurrences on a wedding day. The numbers come from the chart above and what I’ve learned from practicing with Kelvin. I’ll dial in what I think may be right for a scenario, and if it doesn’t look right in the preview image I snap, I’ll dial up or down, depending on what needs to happen. This isn’t always 100% accurate, but I have found that it has been working well for me so far!
SO… if you leave with any encouragement today, let it be this: sometimes it takes a while to figure things out, and sometimes you need to look at what works for others in a different way to make things click. I hope you found this helpful, or at least got a little chuckle at what it was that finally had Kelvin “click” for me! If you are new to using Kelvin, I definitely recommend practicing a little bit on your own before bringing Kelvin into a session or wedding! Try this tip out, and let me know if it helps you out!!
If you enjoyed this post, you may also like:
